Spaces:
Configuration error

Configuration error
File size: 1,805 Bytes
30ccfca |
1 2 3 4 5 6 7 8 9 10 11 12 13 14 15 16 17 18 19 20 21 22 23 24 25 26 27 28 29 30 31 32 33 34 35 36 37 38 39 40 41 42 43 44 45 46 47 48 49 50 51 52 53 |
# Chatbot Deployment with Flask and JavaScript
In this tutorial we deploy the chatbot I created in [this](https://github.com/python-engineer/pytorch-chatbot) tutorial with Flask and JavaScript.
This gives 2 deployment options:
- Deploy within Flask app with jinja2 template
- Serve only the Flask prediction API. The used html and javascript files can be included in any Frontend application (with only a slight modification) and can run completely separate from the Flask App then.
## Initial Setup:
This repo currently contains the starter files.
Clone repo and create a virtual environment
```
$ git clone https://github.com/python-engineer/chatbot-deployment.git
$ cd chatbot-deployment
$ python3 -m venv venv
$ . venv/bin/activate
```
Install dependencies
```
$ (venv) pip install Flask torch torchvision nltk
```
Install nltk package
```
$ (venv) python
>>> import nltk
>>> nltk.download('punkt')
```
Modify `intents.json` with different intents and responses for your Chatbot
Run
```
$ (venv) python train.py
```
This will dump data.pth file. And then run
the following command to test it in the console.
```
$ (venv) python chat.py
```
Now for deployment follow my tutorial to implement `app.py` and `app.js`.
## Watch the Tutorial
[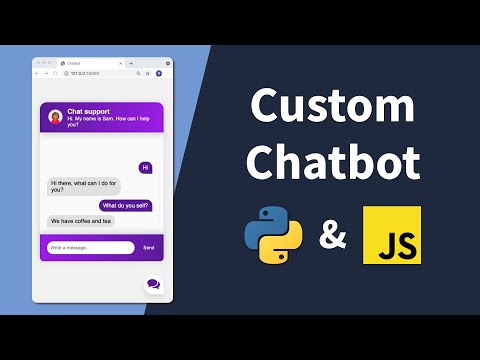](https://youtu.be/a37BL0stIuM)
[https://youtu.be/a37BL0stIuM](https://youtu.be/a37BL0stIuM)
## Note
In the video we implement the first approach using jinja2 templates within our Flask app. Only slight modifications are needed to run the frontend separately. I put the final frontend code for a standalone frontend application in the [standalone-frontend](/standalone-frontend) folder.
## Credits:
This repo was used for the frontend code:
https://github.com/hitchcliff/front-end-chatjs
|