File size: 11,519 Bytes
0ad74ed |
1 2 3 4 5 6 7 8 9 10 11 12 13 14 15 16 17 18 19 20 21 22 23 24 25 26 27 28 29 30 31 32 33 34 35 36 37 38 39 40 41 42 43 44 45 46 47 48 49 50 51 52 53 54 55 56 57 58 59 60 61 62 63 64 65 66 67 68 69 70 71 72 73 74 75 76 77 78 79 80 81 82 83 84 85 86 87 88 89 90 91 92 93 94 95 96 97 98 99 100 101 102 103 104 105 106 107 108 109 110 111 112 113 114 115 116 117 118 119 120 121 122 123 124 125 126 127 128 129 130 131 132 133 134 135 136 137 138 139 140 141 142 143 144 145 146 147 148 149 150 151 152 153 154 155 156 157 158 159 160 161 162 163 164 165 166 167 168 169 170 171 172 173 174 175 176 177 178 179 180 181 182 183 184 185 186 187 188 189 190 191 192 193 194 195 196 197 198 199 200 201 202 203 204 205 206 207 208 209 210 211 212 213 214 215 216 217 218 219 220 221 222 223 224 225 226 227 228 229 230 231 232 233 234 235 236 237 238 239 240 241 242 243 244 245 246 247 248 249 250 251 252 253 254 255 256 257 258 259 260 261 262 263 264 265 266 267 268 269 270 |
# 使用 Gradio 和 Comet
Tags: COMET, SPACES
由 Comet 团队贡献
## 介绍
在这个指南中,我们将展示您可以如何使用 Gradio 和 Comet。我们将介绍使用 Comet 和 Gradio 的基本知识,并向您展示如何利用 Gradio 的高级功能,如 [使用 iFrames 进行嵌入](https://www.gradio.app/sharing-your-app/#embedding-with-iframes) 和 [状态](https://www.gradio.app/docs/#state) 来构建一些令人惊叹的模型评估工作流程。
下面是本指南涵盖的主题列表。
1. 将 Gradio UI 记录到您的 Comet 实验中
2. 直接将 Gradio 应用程序嵌入到您的 Comet 项目中
3. 直接将 Hugging Face Spaces 嵌入到您的 Comet 项目中
4. 将 Gradio 应用程序的模型推理记录到 Comet 中
## 什么是 Comet?
[Comet](https://www.comet.com?utm_source=gradio&utm_medium=referral&utm_campaign=gradio-integration&utm_content=gradio-docs) 是一个 MLOps 平台,旨在帮助数据科学家和团队更快地构建更好的模型!Comet 提供工具来跟踪、解释、管理和监控您的模型,集中在一个地方!它可以与 Jupyter 笔记本和脚本配合使用,最重要的是,它是 100% 免费的!
## 设置
首先,安装运行这些示例所需的依赖项
```shell
pip install comet_ml torch torchvision transformers gradio shap requests Pillow
```
接下来,您需要[注册一个 Comet 账户](https://www.comet.com/signup?utm_source=gradio&utm_medium=referral&utm_campaign=gradio-integration&utm_content=gradio-docs)。一旦您设置了您的账户,[获取您的 API 密钥](https://www.comet.com/docs/v2/guides/getting-started/quickstart/#get-an-api-key?utm_source=gradio&utm_medium=referral&utm_campaign=gradio-integration&utm_content=gradio-docs) 并配置您的 Comet 凭据
如果您将这些示例作为脚本运行,您可以将您的凭据导出为环境变量
```shell
export COMET_API_KEY="<您的 API 密钥>"
export COMET_WORKSPACE="<您的工作空间名称>"
export COMET_PROJECT_NAME="<您的项目名称>"
```
或者将它们设置在您的工作目录中的 `.comet.config` 文件中。您的文件应按以下方式格式化。
```shell
[comet]
api_key=<您的 API 密钥>
workspace=<您的工作空间名称>
project_name=<您的项目名称>
```
如果您使用提供的 Colab Notebooks 运行这些示例,请在开始 Gradio UI 之前运行带有以下片段的单元格。运行此单元格可以让您交互式地将 API 密钥添加到笔记本中。
```python
import comet_ml
comet_ml.init()
```
## 1. 将 Gradio UI 记录到您的 Comet 实验中
[](https://colab.research.google.com/github/comet-ml/comet-examples/blob/master/integrations/model-evaluation/gradio/notebooks/Gradio_and_Comet.ipynb)
在这个例子中,我们将介绍如何将您的 Gradio 应用程序记录到 Comet,并使用 Gradio 自定义面板与其进行交互。
我们先通过使用 `resnet18` 构建一个简单的图像分类示例。
```python
import comet_ml
import requests
import torch
from PIL import Image
from torchvision import transforms
torch.hub.download_url_to_file("https://github.com/pytorch/hub/raw/master/images/dog.jpg", "dog.jpg")
if torch.cuda.is_available():
device = "cuda"
else:
device = "cpu"
model = torch.hub.load("pytorch/vision:v0.6.0", "resnet18", pretrained=True).eval()
model = model.to(device)
# 为 ImageNet 下载可读的标签。
response = requests.get("https://git.io/JJkYN")
labels = response.text.split("\n")
def predict(inp):
inp = Image.fromarray(inp.astype("uint8"), "RGB")
inp = transforms.ToTensor()(inp).unsqueeze(0)
with torch.no_grad():
prediction = torch.nn.functional.softmax(model(inp.to(device))[0], dim=0)
return {labels[i]: float(prediction[i]) for i in range(1000)}
inputs = gr.Image()
outputs = gr.Label(num_top_classes=3)
io = gr.Interface(
fn=predict, inputs=inputs, outputs=outputs, examples=["dog.jpg"]
)
io.launch(inline=False, share=True)
experiment = comet_ml.Experiment()
experiment.add_tag("image-classifier")
io.integrate(comet_ml=experiment)
```
此片段中的最后一行将将 Gradio 应用程序的 URL 记录到您的 Comet 实验中。您可以在实验的文本选项卡中找到该 URL。
<video width="560" height="315" controls>
<source src="https://user-images.githubusercontent.com/7529846/214328034-09369d4d-8b94-4c4a-aa3c-25e3ed8394c4.mp4"></source>
</video>
将 Gradio 面板添加到您的实验中,与应用程序进行交互。
<video width="560" height="315" controls>
<source src="https://user-images.githubusercontent.com/7529846/214328194-95987f83-c180-4929-9bed-c8a0d3563ed7.mp4"></source>
</video>
## 2. 直接将 Gradio 应用程序嵌入到您的 Comet 项目中
<iframe width="560" height="315" src="https://www.youtube.com/embed/KZnpH7msPq0?start=9" title="YouTube video player" frameborder="0" allow="accelerometer; autoplay; clipboard-write; encrypted-media; gyroscope; picture-in-picture; web-share" allowfullscreen></iframe>
如果您要长期托管 Gradio 应用程序,可以使用 Gradio Panel Extended 自定义面板进行嵌入 UI。
转到您的 Comet 项目页面,转到面板选项卡。单击“+ 添加”按钮以打开面板搜索页面。
<img width="560" alt="adding-panels" src="https://user-images.githubusercontent.com/7529846/214329314-70a3ff3d-27fb-408c-a4d1-4b58892a3854.jpeg">
接下来,在公共面板部分搜索 Gradio Panel Extended 并单击“添加”。
<img width="560" alt="gradio-panel-extended" src="https://user-images.githubusercontent.com/7529846/214325577-43226119-0292-46be-a62a-0c7a80646ebb.png">
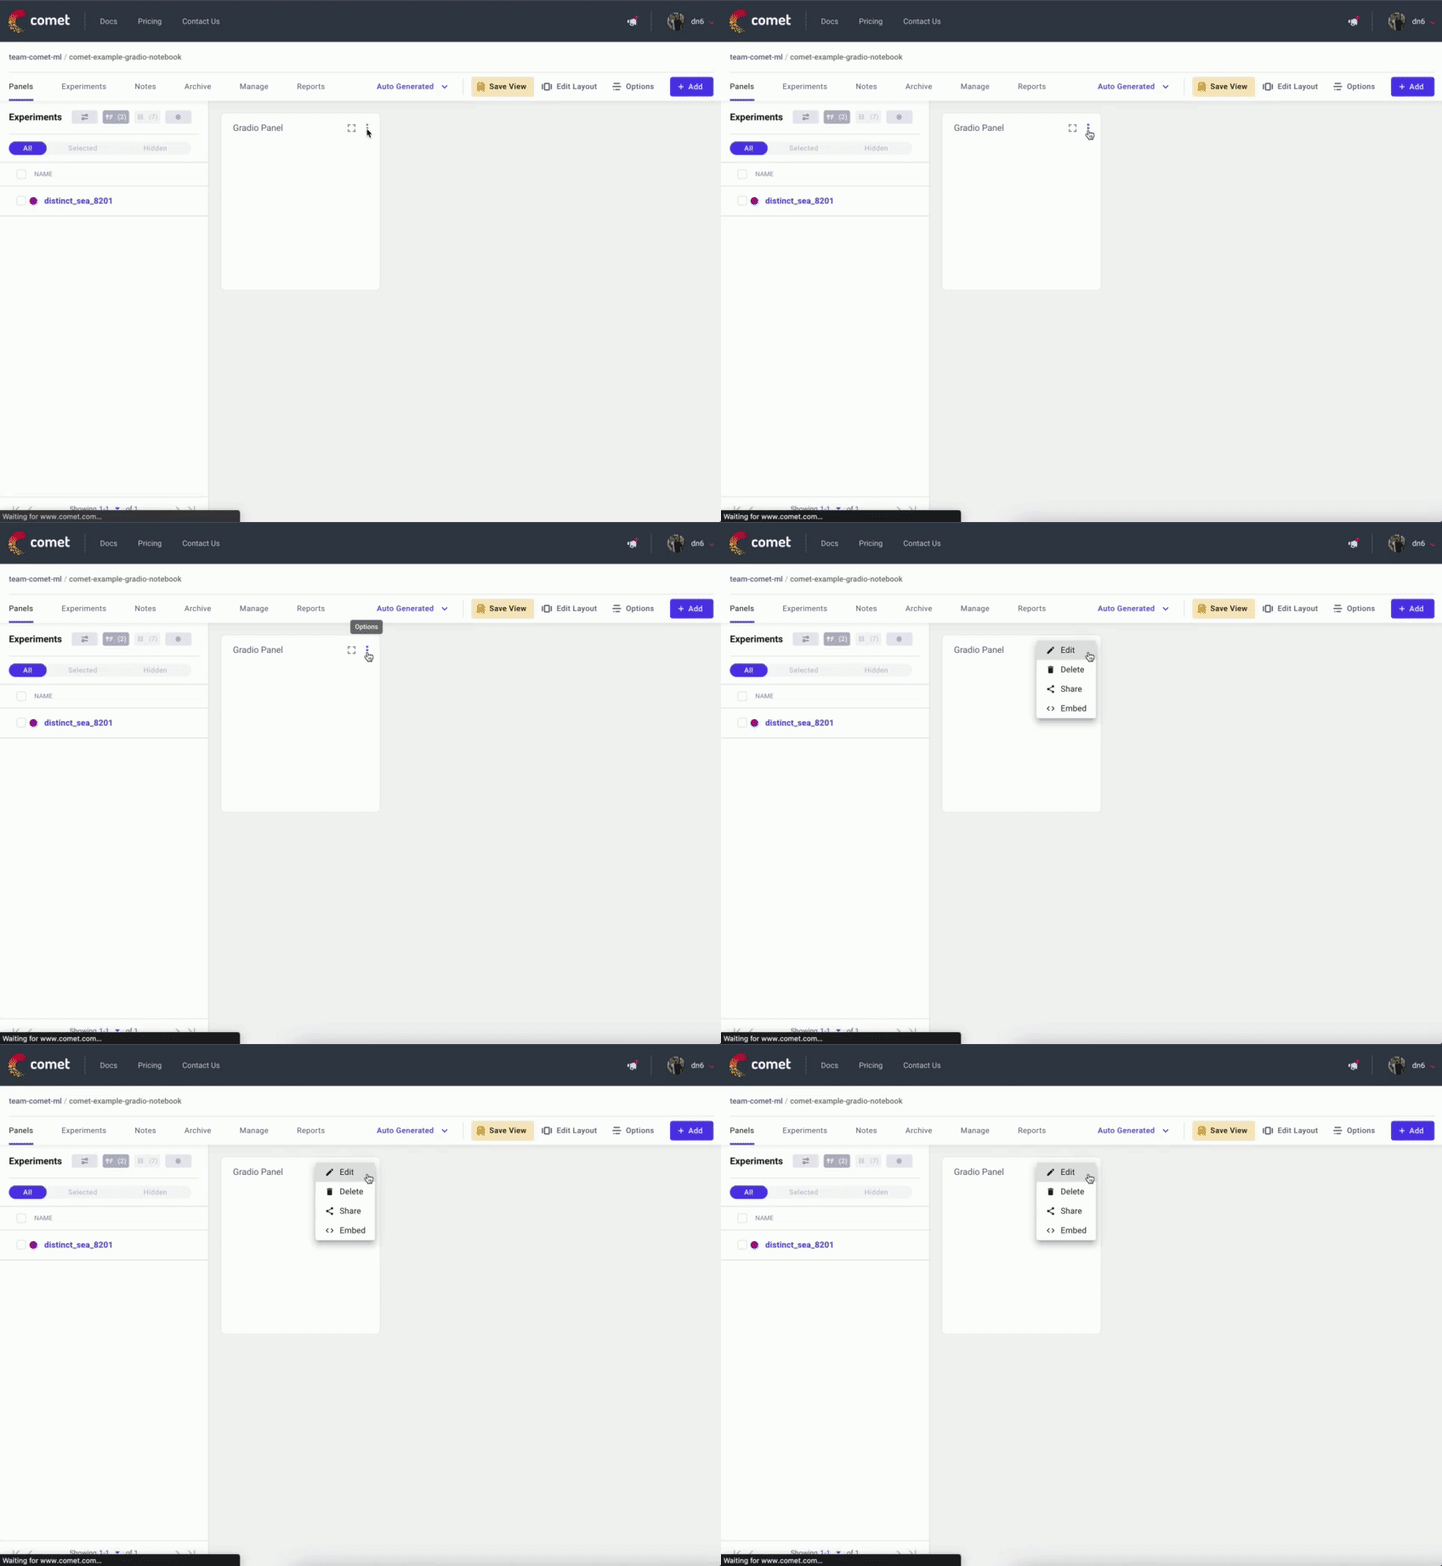
添加面板后,单击“编辑”以访问面板选项页面,并粘贴您的 Gradio 应用程序的 URL。

<img width="560" alt="Edit-Gradio-Panel-URL" src="https://user-images.githubusercontent.com/7529846/214334843-870fe726-0aa1-4b21-bbc6-0c48f56c48d8.png">
## 3. 直接将 Hugging Face Spaces 嵌入到您的 Comet 项目中
<iframe width="560" height="315" src="https://www.youtube.com/embed/KZnpH7msPq0?start=107" title="YouTube 视频播放器 " frameborder="0" allow="accelerometer; autoplay; clipboard-write; encrypted-media; gyroscope; picture-in-picture; web-share" allowfullscreen></iframe>
您还可以使用 Hugging Face Spaces 面板将托管在 Hugging Faces Spaces 中的 Gradio 应用程序嵌入到您的 Comet 项目中。
转到 Comet 项目页面,转到面板选项卡。单击“+添加”按钮以打开面板搜索页面。然后,在公共面板部分搜索 Hugging Face Spaces 面板并单击“添加”。
<img width="560" height="315" alt="huggingface-spaces-panel" src="https://user-images.githubusercontent.com/7529846/214325606-99aa3af3-b284-4026-b423-d3d238797e12.png">
添加面板后,单击“编辑”以访问面板选项页面,并粘贴您的 Hugging Face Space 路径,例如 `pytorch/ResNet`
<img width="560" height="315" alt="Edit-HF-Space" src="https://user-images.githubusercontent.com/7529846/214335868-c6f25dee-13db-4388-bcf5-65194f850b02.png">
## 4. 记录模型推断结果到 Comet
<iframe width="560" height="315" src="https://www.youtube.com/embed/KZnpH7msPq0?start=176" title="YouTube 视频播放器 " frameborder="0" allow="accelerometer; autoplay; clipboard-write; encrypted-media; gyroscope; picture-in-picture; web-share" allowfullscreen></iframe>
[](https://colab.research.google.com/github/comet-ml/comet-examples/blob/master/integrations/model-evaluation/gradio/notebooks/Logging_Model_Inferences_with_Comet_and_Gradio.ipynb)
在前面的示例中,我们演示了通过 Comet UI 与 Gradio 应用程序交互的各种方法。此外,您还可以将 Gradio 应用程序的模型推断(例如 SHAP 图)记录到 Comet 中。
在以下代码段中,我们将记录来自文本生成模型的推断。我们可以使用 Gradio 的[State](https://www.gradio.app/docs/#state)对象在多次推断调用之间保持实验的持久性。这将使您能够将多个模型推断记录到单个实验中。
```python
import comet_ml
import gradio as gr
import shap
import torch
from transformers import AutoModelForCausalLM, AutoTokenizer
if torch.cuda.is_available():
device = "cuda"
else:
device = "cpu"
MODEL_NAME = "gpt2"
model = AutoModelForCausalLM.from_pretrained(MODEL_NAME)
# set model decoder to true
model.config.is_decoder = True
# set text-generation params under task_specific_params
model.config.task_specific_params["text-generation"] = {
"do_sample": True,
"max_length": 50,
"temperature": 0.7,
"top_k": 50,
"no_repeat_ngram_size": 2,
}
model = model.to(device)
tokenizer = AutoTokenizer.from_pretrained(MODEL_NAME)
explainer = shap.Explainer(model, tokenizer)
def start_experiment():
"""Returns an APIExperiment object that is thread safe
and can be used to log inferences to a single Experiment
"""
try:
api = comet_ml.API()
workspace = api.get_default_workspace()
project_name = comet_ml.config.get_config()["comet.project_name"]
experiment = comet_ml.APIExperiment(
workspace=workspace, project_name=project_name
)
experiment.log_other("Created from", "gradio-inference")
message = f"Started Experiment: [{experiment.name}]({experiment.url})"
return (experiment, message)
except Exception as e:
return None, None
def predict(text, state, message):
experiment = state
shap_values = explainer([text])
plot = shap.plots.text(shap_values, display=False)
if experiment is not None:
experiment.log_other("message", message)
experiment.log_html(plot)
return plot
with gr.Blocks() as demo:
start_experiment_btn = gr.Button("Start New Experiment")
experiment_status = gr.Markdown()
# Log a message to the Experiment to provide more context
experiment_message = gr.Textbox(label="Experiment Message")
experiment = gr.State()
input_text = gr.Textbox(label="Input Text", lines=5, interactive=True)
submit_btn = gr.Button("Submit")
output = gr.HTML(interactive=True)
start_experiment_btn.click(
start_experiment, outputs=[experiment, experiment_status]
)
submit_btn.click(
predict, inputs=[input_text, experiment, experiment_message], outputs=[output]
)
```
该代码段中的推断结果将保存在实验的 HTML 选项卡中。
<video width="560" height="315" controls>
<source src="https://user-images.githubusercontent.com/7529846/214328610-466e5c81-4814-49b9-887c-065aca14dd30.mp4"></source>
</video>
## 结论
希望您对本指南有所裨益,并能为您构建出色的 Comet 和 Gradio 模型评估工作流程提供一些启示。
## 如何在 Comet 组织上贡献 Gradio 演示
- 在 Hugging Face 上创建帐号[此处](https://huggingface.co/join)。
- 在用户名下添加 Gradio 演示,请参阅[此处](https://huggingface.co/course/chapter9/4?fw=pt)以设置 Gradio 演示。
- 请求加入 Comet 组织[此处](https://huggingface.co/Comet)。
## 更多资源
- [Comet 文档](https://www.comet.com/docs/v2/?utm_source=gradio&utm_medium=referral&utm_campaign=gradio-integration&utm_content=gradio-docs)
|