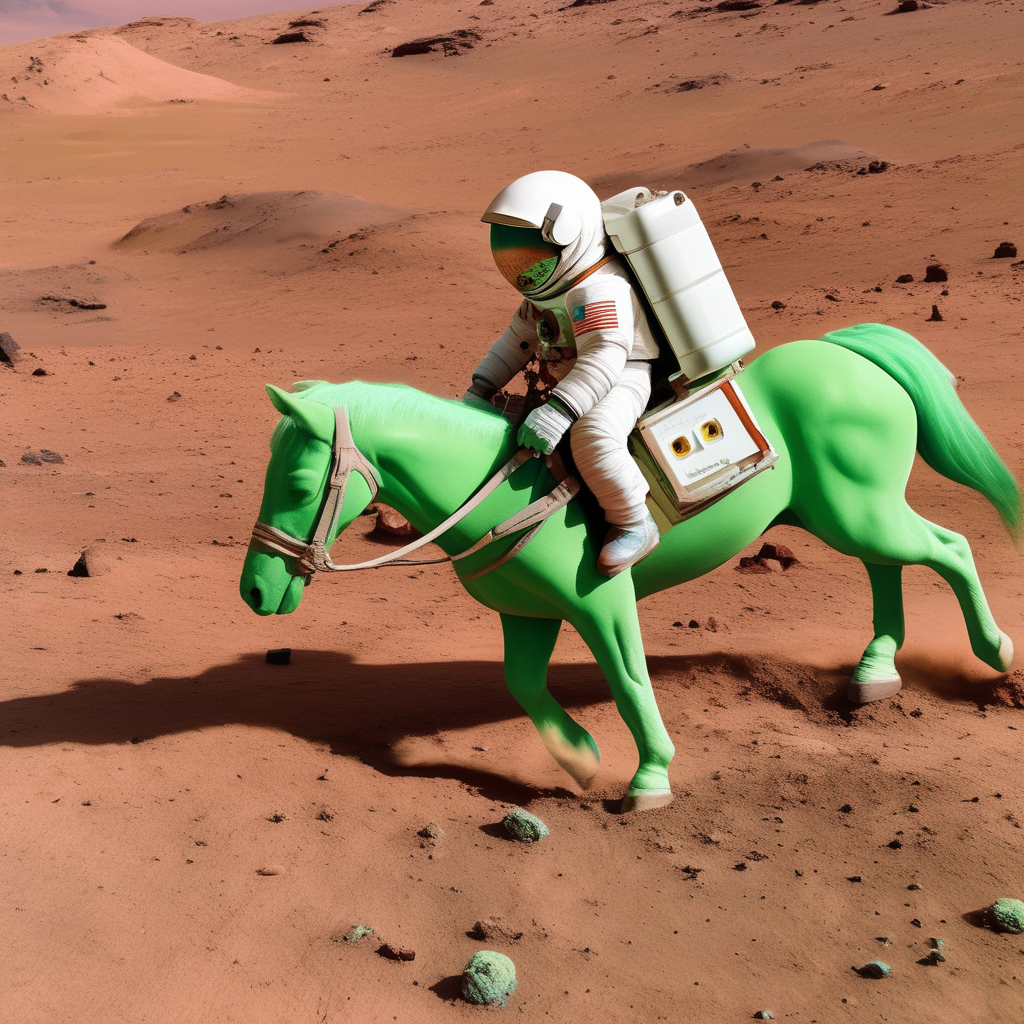
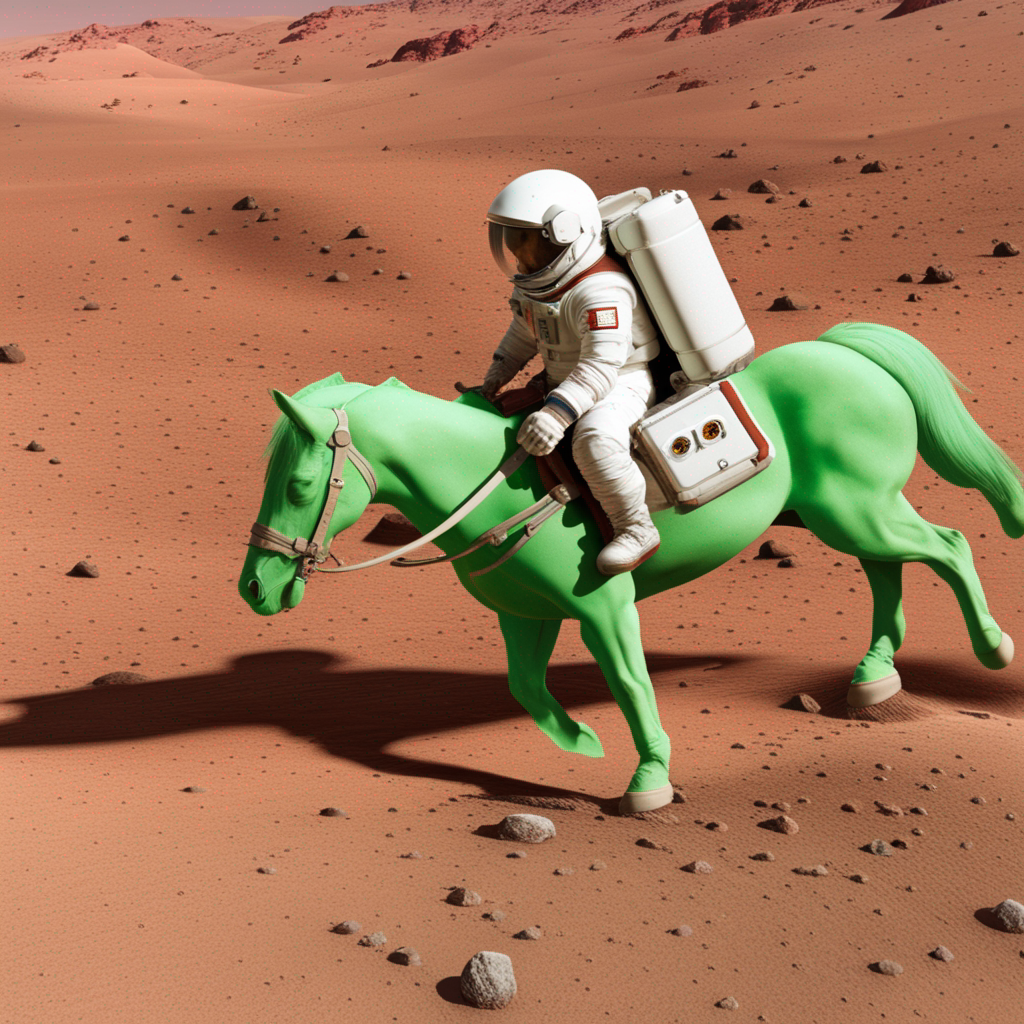
Stable diffusion XL
Stable Diffusion XL was proposed in SDXL: Improving Latent Diffusion Models for High-Resolution Image Synthesis by Dustin Podell, Zion English, Kyle Lacey, Andreas Blattmann, Tim Dockhorn, Jonas Müller, Joe Penna, Robin Rombach
The abstract of the paper is the following:
We present SDXL, a latent diffusion model for text-to-image synthesis. Compared to previous versions of Stable Diffusion, SDXL leverages a three times larger UNet backbone: The increase of model parameters is mainly due to more attention blocks and a larger cross-attention context as SDXL uses a second text encoder. We design multiple novel conditioning schemes and train SDXL on multiple aspect ratios. We also introduce a refinement model which is used to improve the visual fidelity of samples generated by SDXL using a post-hoc image-to-image technique. We demonstrate that SDXL shows drastically improved performance compared the previous versions of Stable Diffusion and achieves results competitive with those of black-box state-of-the-art image generators.
Tips
- Stable Diffusion XL works especially well with images between 768 and 1024.
- Stable Diffusion XL can pass a different prompt for each of the text encoders it was trained on as shown below. We can even pass different parts of the same prompt to the text encoders.
- Stable Diffusion XL output image can be improved by making use of a refiner as shown below.
Available checkpoints:
- Text-to-Image (1024x1024 resolution): stabilityai/stable-diffusion-xl-base-1.0 with [
StableDiffusionXLPipeline] - Image-to-Image / Refiner (1024x1024 resolution): stabilityai/stable-diffusion-xl-refiner-1.0 with [
StableDiffusionXLImg2ImgPipeline]
Usage Example
Before using SDXL make sure to have transformers, accelerate, safetensors and invisible_watermark installed.
You can install the libraries as follows:
pip install transformers
pip install accelerate
pip install safetensors
pip install invisible-watermark>=0.2.0
Text-to-Image
You can use SDXL as follows for text-to-image:
from diffusers import StableDiffusionXLPipeline
import torch

pipe = StableDiffusionXLPipeline.from_pretrained(
    "stabilityai/stable-diffusion-xl-base-1.0", torch_dtype=torch.float16, variant="fp16", use_safetensors=True
)
pipe.to("cuda")

prompt = "Astronaut in a jungle, cold color palette, muted colors, detailed, 8k"
image = pipe(prompt=prompt).images[0]
Image-to-image
You can use SDXL as follows for image-to-image:
import torch
from diffusers import StableDiffusionXLImg2ImgPipeline
from diffusers.utils import load_image

pipe = StableDiffusionXLImg2ImgPipeline.from_pretrained(
    "stabilityai/stable-diffusion-xl-refiner-1.0", torch_dtype=torch.float16, variant="fp16", use_safetensors=True
)
pipe = pipe.to("cuda")
url = "https://huggingface.co/datasets/patrickvonplaten/images/resolve/main/aa_xl/000000009.png"

init_image = load_image(url).convert("RGB")
prompt = "a photo of an astronaut riding a horse on mars"
image = pipe(prompt, image=init_image).images[0]
Inpainting
You can use SDXL as follows for inpainting
import torch
from diffusers import StableDiffusionXLInpaintPipeline
from diffusers.utils import load_image

pipe = StableDiffusionXLInpaintPipeline.from_pretrained(
    "stabilityai/stable-diffusion-xl-base-1.0", torch_dtype=torch.float16, variant="fp16", use_safetensors=True
)
pipe.to("cuda")

img_url = "https://raw.githubusercontent.com/CompVis/latent-diffusion/main/data/inpainting_examples/overture-creations-5sI6fQgYIuo.png"
mask_url = "https://raw.githubusercontent.com/CompVis/latent-diffusion/main/data/inpainting_examples/overture-creations-5sI6fQgYIuo_mask.png"

init_image = load_image(img_url).convert("RGB")
mask_image = load_image(mask_url).convert("RGB")

prompt = "A majestic tiger sitting on a bench"
image = pipe(prompt=prompt, image=init_image, mask_image=mask_image, num_inference_steps=50, strength=0.80).images[0]
Refining the image output
In addition to the base model checkpoint, StableDiffusion-XL also includes a refiner checkpoint that is specialized in denoising low-noise stage images to generate images of improved high-frequency quality. This refiner checkpoint can be used as a "second-step" pipeline after having run the base checkpoint to improve image quality.
When using the refiner, one can easily
- 1.) employ the base model and refiner as an Ensemble of Expert Denoisers as first proposed in eDiff-I or
- 2.) simply run the refiner in SDEdit fashion after the base model.
Note: The idea of using SD-XL base & refiner as an ensemble of experts was first brought forward by
a couple community contributors which also helped shape the following diffusers implementation, namely:
1.) Ensemble of Expert Denoisers
When using the base and refiner model as an ensemble of expert of denoisers, the base model should serve as the expert for the high-noise diffusion stage and the refiner serves as the expert for the low-noise diffusion stage.
The advantage of 1.) over 2.) is that it requires less overall denoising steps and therefore should be significantly faster. The drawback is that one cannot really inspect the output of the base model; it will still be heavily denoised.
To use the base model and refiner as an ensemble of expert denoisers, make sure to define the span
of timesteps which should be run through the high-noise denoising stage (i.e. the base model) and the low-noise
denoising stage (i.e. the refiner model) respectively. We can set the intervals using the denoising_end of the base model
and denoising_start of the refiner model.
For both denoising_end and denoising_start a float value between 0 and 1 should be passed.
When passed, the end and start of denoising will be defined by proportions of discrete timesteps as
defined by the model schedule.
Note that this will override strength if it is also declared, since the number of denoising steps
is determined by the discrete timesteps the model was trained on and the declared fractional cutoff.
Let's look at an example. First, we import the two pipelines. Since the text encoders and variational autoencoder are the same you don't have to load those again for the refiner.
from diffusers import DiffusionPipeline
import torch

base = DiffusionPipeline.from_pretrained(
    "stabilityai/stable-diffusion-xl-base-1.0", torch_dtype=torch.float16, variant="fp16", use_safetensors=True
)
base.to("cuda")

refiner = DiffusionPipeline.from_pretrained(
    "stabilityai/stable-diffusion-xl-refiner-1.0",
    text_encoder_2=base.text_encoder_2,
    vae=base.vae,
    torch_dtype=torch.float16,
    use_safetensors=True,
    variant="fp16",
)
refiner.to("cuda")
Now we define the number of inference steps and the point at which the model shall be run through the high-noise denoising stage (i.e. the base model).
n_steps = 40
high_noise_frac = 0.8
Stable Diffusion XL base is trained on timesteps 0-999 and Stable Diffusion XL refiner is finetuned
from the base model on low noise timesteps 0-199 inclusive, so we use the base model for the first
800 timesteps (high noise) and the refiner for the last 200 timesteps (low noise). Hence, high_noise_frac
is set to 0.8, so that all steps 200-999 (the first 80% of denoising timesteps) are performed by the
base model and steps 0-199 (the last 20% of denoising timesteps) are performed by the refiner model.
Remember, the denoising process starts at high value (high noise) timesteps and ends at low value (low noise) timesteps.
Let's run the two pipelines now. Make sure to set denoising_end and
denoising_start to the same values and keep num_inference_steps constant. Also remember that
the output of the base model should be in latent space:
prompt = "A majestic lion jumping from a big stone at night"

image = base(
    prompt=prompt,
    num_inference_steps=n_steps,
    denoising_end=high_noise_frac,
    output_type="latent",
).images
image = refiner(
    prompt=prompt,
    num_inference_steps=n_steps,
    denoising_start=high_noise_frac,
    image=image,
).images[0]
Let's have a look at the images
If we would have just run the base model on the same 40 steps, the image would have been arguably less detailed (e.g. the lion eyes and nose):
The ensemble-of-experts method works well on all available schedulers!
2.) Refining the image output from fully denoised base image
In standard [StableDiffusionImg2ImgPipeline]-fashion, the fully-denoised image generated of the base model
can be further improved using the refiner checkpoint.
For this, you simply run the refiner as a normal image-to-image pipeline after the "base" text-to-image pipeline. You can leave the outputs of the base model in latent space.
from diffusers import DiffusionPipeline
import torch

pipe = DiffusionPipeline.from_pretrained(
    "stabilityai/stable-diffusion-xl-base-1.0", torch_dtype=torch.float16, variant="fp16", use_safetensors=True
)
pipe.to("cuda")

refiner = DiffusionPipeline.from_pretrained(
    "stabilityai/stable-diffusion-xl-refiner-1.0",
    text_encoder_2=pipe.text_encoder_2,
    vae=pipe.vae,
    torch_dtype=torch.float16,
    use_safetensors=True,
    variant="fp16",
)
refiner.to("cuda")

prompt = "Astronaut in a jungle, cold color palette, muted colors, detailed, 8k"

image = pipe(prompt=prompt, output_type="latent" if use_refiner else "pil").images[0]
image = refiner(prompt=prompt, image=image[None, :]).images[0]
The refiner can also very well be used in an in-painting setting. To do so just make
sure you use the [StableDiffusionXLInpaintPipeline] classes as shown below
To use the refiner for inpainting in the Ensemble of Expert Denoisers setting you can do the following:
from diffusers import StableDiffusionXLInpaintPipeline
from diffusers.utils import load_image

pipe = StableDiffusionXLInpaintPipeline.from_pretrained(
    "stabilityai/stable-diffusion-xl-base-1.0", torch_dtype=torch.float16, variant="fp16", use_safetensors=True
)
pipe.to("cuda")

refiner = StableDiffusionXLInpaintPipeline.from_pretrained(
    "stabilityai/stable-diffusion-xl-refiner-1.0",
    text_encoder_2=pipe.text_encoder_2,
    vae=pipe.vae,
    torch_dtype=torch.float16,
    use_safetensors=True,
    variant="fp16",
)
refiner.to("cuda")

img_url = "https://raw.githubusercontent.com/CompVis/latent-diffusion/main/data/inpainting_examples/overture-creations-5sI6fQgYIuo.png"
mask_url = "https://raw.githubusercontent.com/CompVis/latent-diffusion/main/data/inpainting_examples/overture-creations-5sI6fQgYIuo_mask.png"

init_image = load_image(img_url).convert("RGB")
mask_image = load_image(mask_url).convert("RGB")

prompt = "A majestic tiger sitting on a bench"
num_inference_steps = 75
high_noise_frac = 0.7

image = pipe(
    prompt=prompt,
    image=init_image,
    mask_image=mask_image,
    num_inference_steps=num_inference_steps,
    denoising_start=high_noise_frac,
    output_type="latent",
).images
image = refiner(
    prompt=prompt,
    image=image,
    mask_image=mask_image,
    num_inference_steps=num_inference_steps,
    denoising_start=high_noise_frac,
).images[0]
To use the refiner for inpainting in the standard SDE-style setting, simply remove denoising_end and denoising_start and choose a smaller
number of inference steps for the refiner.
Loading single file checkpoints / original file format
By making use of [~diffusers.loaders.FromSingleFileMixin.from_single_file] you can also load the
original file format into diffusers:
from diffusers import StableDiffusionXLPipeline, StableDiffusionXLImg2ImgPipeline
import torch

pipe = StableDiffusionXLPipeline.from_single_file(
    "./sd_xl_base_1.0.safetensors", torch_dtype=torch.float16, variant="fp16", use_safetensors=True
)
pipe.to("cuda")

refiner = StableDiffusionXLImg2ImgPipeline.from_single_file(
    "./sd_xl_refiner_1.0.safetensors", torch_dtype=torch.float16, use_safetensors=True, variant="fp16"
)
refiner.to("cuda")
Memory optimization via model offloading
If you are seeing out-of-memory errors, we recommend making use of [StableDiffusionXLPipeline.enable_model_cpu_offload].
- pipe.to("cuda")
+ pipe.enable_model_cpu_offload()
and
- refiner.to("cuda")
+ refiner.enable_model_cpu_offload()
Speed-up inference with torch.compile
You can speed up inference by making use of torch.compile. This should give you ca. 20% speed-up.
+ pipe.unet = torch.compile(pipe.unet, mode="reduce-overhead", fullgraph=True)
+ refiner.unet = torch.compile(refiner.unet, mode="reduce-overhead", fullgraph=True)
Running with torch < 2.0
Note that if you want to run Stable Diffusion XL with torch < 2.0, please make sure to enable xformers
attention:
pip install xformers
+pipe.enable_xformers_memory_efficient_attention()
+refiner.enable_xformers_memory_efficient_attention()
StableDiffusionXLPipeline
[[autodoc]] StableDiffusionXLPipeline - all - call
StableDiffusionXLImg2ImgPipeline
[[autodoc]] StableDiffusionXLImg2ImgPipeline - all - call
StableDiffusionXLInpaintPipeline
[[autodoc]] StableDiffusionXLInpaintPipeline - all - call
Passing different prompts to each text-encoder
Stable Diffusion XL was trained on two text encoders. The default behavior is to pass the same prompt to each. But it is possible to pass a different prompt for each text-encoder, as some users noted that it can boost quality.
To do so, you can pass prompt_2 and negative_prompt_2 in addition to prompt and negative_prompt. By doing that, you will pass the original prompts and negative prompts (as in prompt and negative_prompt) to text_encoder (in official SDXL 0.9/1.0 that is OpenAI CLIP-ViT/L-14),
and prompt_2 and negative_prompt_2 to text_encoder_2 (in official SDXL 0.9/1.0 that is OpenCLIP-ViT/bigG-14).
from diffusers import StableDiffusionXLPipeline
import torch

pipe = StableDiffusionXLPipeline.from_pretrained(
    "stabilityai/stable-diffusion-xl-base-1.0", torch_dtype=torch.float16, variant="fp16", use_safetensors=True
)
pipe.to("cuda")

# prompt will be passed to OAI CLIP-ViT/L-14
prompt = "Astronaut in a jungle, cold color palette, muted colors, detailed, 8k"
# prompt_2 will be passed to OpenCLIP-ViT/bigG-14
prompt_2 = "monet painting"
image = pipe(prompt=prompt, prompt_2=prompt_2).images[0]


