HugGAN Sprint
Timeline: April 4th, 2022 - April 17th, 2022
Welcome to HugGAN Sprint! The goal of this sprint is to add more GANs and GAN-based demos to the Hugging Face Hub 🤗.
During the sprint, we’ll be bringing in some awesome speakers to talk about GANs and the future of generative models. Oh, and if you need access to compute for your project, we’ll help you there too! As an added bonus, if you choose to participate, we’ll send you a gift (specific details TBD). We encourage you to form teams of ~2-3 people! Make friends in the Discord :)
To join:
- Fill out this form, so we can keep track of who’s joining.
- Send a reaction in the #join-sprint channel under the HugGAN category in Discord. This will add you to the rest of the related channels. If you haven't joined our discord yet, click here.
- Once you’ve decided what you want to work on, add your project’s information to this sheet, where you can describe your project and let us know if you need additional compute. Still brainstorming? Feel free to propose ideas in #sprint-discussions.
Table of Contents
- Important dates
- How to install relevant libraries
- General workflow
- Datasets to add
- Links to check out
- GAN metrics
- Evaluation
- Prizes
- Communication and Problems
- Talks
- General Tips & Tricks
Important dates
| Date | Description |
|---|---|
| April 4th | Sprint Kickoff 🚀 |
| April 15th | Submission Deadline 🛑 |
| April 22nd | Prizes Announced for Participants 🎁 |
How to install relevant libraries
You'll need the following dependencies installed to use this repo:
- PyTorch or Keras - depending on which framework you prefer ;)
- 🤗 Datasets
- 🤗 Accelerate - in case you're planning to train a PyTorch model and you want it to be run effortlessly
We recommend installing the above libraries in a virtual environment. If you're unfamiliar with Python virtual environments, check out the user guide. Create a virtual environment with the version of Python you're going to use and activate it.
You should be able to run the command:
python3 -m venv <your-venv-name>
You can activate your venv by running
source ~/<your-venv-name>/bin/activate
Install Dependencies
We've packaged up the example scripts here into a simple Python package. To install it, just pip install it
git clone https://github.com/huggingface/community-events.git
cd community-events
pip install .
If you use pip install -e . instead of pip install, it will install the package in development mode, which can be useful if you are planning on contributing any changes here 🤗.
General workflow
The process to follow is outlined below. It consists of 3 steps:
- Get a dataset and push to the Hub
- Train a model and push to the Hub
- Create a demo (🤗 Space)
These steps are explained in more detail below.
1. Get a dataset and push to Hub
The first step is the most obvious one: to train a GAN (or any neural network), we need a dataset. This could be either a dataset that is already available on the Hub, or one that isn't already. Below we'll explain how to load the data in both cases.
Note that we maintain a list of interesting datasets to add to the Hub here.
1.1 Use a dataset already available on the Hub
Most famous computer vision datasets are already available on the Hub (such as MNIST, Fashion MNIST, CIFAR-10, CIFAR-100, etc.).
Loading a dataset can be done as follows:
from datasets import load_dataset

# a general one ...
dataset = load_dataset("mnist")

# ... or one that's part of the huggan organization
dataset = load_dataset("huggan/edges2shoes")
In a notebook, you can directly see the images by selecting a split and then the appropriate column:
example = dataset['train'][0]
print(example['image'])
1.2 Upload a new dataset to the Hub
In case your dataset is not already on the Hub, you can upload it to the huggan organization. If you've signed up for the event by filling in the spreadsheet, your Hugging Face account should be part of it.
Let's illustrate with an example how this was done for NVIDIA's MetFaces dataset:

Previously, this dataset was only hosted on Google Drive, and not really easily accessible.
To begin with, one should check that one is correctly logged in and that git-lfs is installed so that the dataset can be uploaded.
Run:
huggingface-cli login
in a terminal, or case you're working in a notebook
from huggingface_hub import notebook_login

notebook_login()
It is recommended to login with your access token that can be found under your HuggingFace profile (icon in the top right corner on hf.co, then Settings -> Access Tokens -> User Access Tokens -> New Token (if you haven't generated one already). Alternatively, you can go to your token settings directly.
You can then copy-paste this token to log in locally.
Next, let's make sure that git-lfs is correctly installed. To so, simply run:
git-lfs -v
The output should show something like git-lfs/2.13.2 (GitHub; linux amd64; go 1.15.4). If your console states that the git-lfs command was not found, please make sure to install it here or simply via:
sudo apt-get install git-lfs
git config --global user.email "[email protected]"
git config --global user.name "Your Name"
Next, one can leverage the ImageFolder builder to very easily upload an image dataset to the hub. In case the dataset you're uploading has a direct download URL, you can simply provide it to the data_files argument as shown below. Otherwise, you'll need to go to the link of the dataset and manually download it first as a zip/tar (which was the case for MetFaces), and provide the file through the data_files argument. Alternatively, it may be that you have a folder with images, in which case you can provide it using the data_dir argument. Note that the latter assumes a particular structure.
from datasets import load_dataset

# option 1: local folder
dataset = load_dataset("imagefolder", data_dir="path_to_folder")
# option 2: local or remote file(s), supporting the following extensions: tar, gzip, zip, xz, rar, zstd
dataset = load_dataset("imagefolder", data_files="path_to_file_or_direct_download_link")

# note that you can also provide them as separate splits, like so:
dataset = load_dataset("imagefolder", data_files={"train": ["path/to/file1", "path/to/file2"], "test": ["path/to/file3", "path/to/file4"]})
Once you've loaded your dataset, you can push it to the Hub with a single line of code:
dataset.push_to_hub("huggan/name-of-your-dataset")
Et voila! Your dataset is now available on the Hub :) If you wait a bit, the Dataset viewer should be able to preview images in the browser. The MetFaces dataset can be seen here: https://huggingface.co/datasets/huggan/metfaces.

The cool thing is that anyone can now access this dataset from anywhere, using load_dataset 🎉🥳 this means that you can easily load the dataset on another computer for instance, or in a different environment. Amazing, isn't it?
❗ Note: When uploading a dataset, make sure that it has appropriate column names. The ImageFolder utility automatically creates image and label columns, however if there's only one image class, it makes sense to remove the label column before pushing to the hub. This can be done as follows:
dataset = dataset.remove_columns("label")
Note that you can always update a dataset by simply calling push_to_hub again (providing the same name).
1.3 Processing the data
Once you've uploaded your dataset, you can load it and create a dataloader for it. The code example below shows how to apply some data augmentation and creating a PyTorch Dataloader (the PyTorch example scripts all leverage this). More info can also be found in the docs.
from datasets import load_dataset
from torchvision.transforms import CenterCrop, Compose, Normalize, Resize, ToTensor
from torch.utils.data import DataLoader

# load your data
dataset = load_dataset("dataset_name")

image_size = 256

# define image transformations (e.g. using torchvision)
transform = Compose(
    [
        Resize(image_size),
        CenterCrop(image_size),
        ToTensor(),
        Normalize((0.5, 0.5, 0.5), (0.5, 0.5, 0.5)),
    ]
)

# define function
def transforms(examples):
   examples["image"] = [transform(image.convert("RGB")) for image in examples["image"]]

   return examples

transformed_dataset = dataset.with_transform(transforms)

# create dataloader
dataloader = DataLoader(
     transformed_dataset["train"], batch_size="your batch size", shuffle=True, num_workers="your number of CPU cores"
)
As can be seen, we leverage the with_transform method here, which will make sure the image transformations will only be performed when iterating over the data (i.e. data augmentation is performed on-the-fly, making it very RAM-friendly) rather than performing it on the entire dataset in one go (which would be the case if you use map). The with_transform method does the same thing as set_transform, except that it does return a new Dataset rather than performing the operation in-place.
2. Train a model and push to Hub
Next, one can start training a model. This could be any model you'd like. However, we provide some example scripts to help you get started, in both PyTorch and Tensorflow. An example is the DCGAN model for unconditional image generation. Simply follow the README that explains all the details of the relevant implementation, and run it in your environment.
The PyTorch example scripts all leverage 🤗 Accelerate, which provides an easy API to make your scripts run on any kind of distributed setting (multi-GPUs, TPUs etc.) and with mixed precision, while still letting you write your own training loop.
Alternatively, we also provide a Links to Check Out section to give you some inspiration.
Below, we explain in more detail how to upload your model to the Hub, depending on the framework you're using (sections 2.1 and 2.2). In section 2.3, we'll explain how to write a nice model card. In section 2.4, we'll illustrate alternative ways to upload (and re-use) a model to (and from) the hub. Finally, in section 2.5, we explain 🤗 Accelerate, the awesome library that makes training PyTorch models on any kind of environment a breeze. Be sure to check it out!
2.1 PyTorch
If you're planning to train a custom PyTorch model, it's recommended to make it inherit from PyTorchModelHubMixin. This makes sure you can push it to the Hub at the end of training, and reload it afterwards using from_pretrained, as shown in the code example below:
from huggingface_hub import PyTorchModelHubMixin

class MyGenerator(nn.Module, PyTorchModelHubMixin):
   def __init__(self, **kwargs):
      super().__init__()
      self.config = kwargs.pop("config", None)
      self.layer = ...
   def forward(self, ...):
      return ...

# Create model
model = MyGenerator()

# Push to HuggingFace Hub
model.push_to_hub("huggan/name-of-your-model").

# Reload from HuggingFace Hub
reloaded = MyGenerator.from_pretrained("huggan/name-of-your-model").
This PyTorchModelHubMixin class is available in the huggingface_hub library, which comes pre-installed if you install datasets (or transformers) in your environment.
2.2 Keras
In Keras, one can leverage the push_to_hub_keras and from_pretrained_keras methods:
import tensorflow as tf
from huggingface_hub import push_to_hub_keras, from_pretrained_keras

# Build a Keras model
inputs = tf.keras.layers.Input(shape=(2,))
x = tf.keras.layers.Dense(2, activation="relu")(inputs)
model = tf.keras.models.Model(inputs=inputs, outputs=x)
model.compile(optimizer="adam", loss="mse")

# Push to HuggingFace Hub
push_to_hub_keras(model, "huggan/my-cool-model")

# Reload from HuggingFace Hub
reloaded = from_pretrained_keras("huggan/my-cool-model")
These methods are available in the huggingface_hub library, which comes pre-installed if you install datasets (or transformers) in your environment. Note that the push_to_hub_keras method supports pushing several models (such as a generator and discriminator) to the same repo, as illustrated here.
2.3 Alternative ways to upload a model to the Hub
Besides the methods explained in sections 2.1 and 2.2 above, you can also share model assets directly from git, which is explained in depth in this guide.
2.4 Model cards
When uploading a model to the Hub, it's important to include a so-called model card with it. This is just a README (in Markdown) 🃏 that includes:
- license,
- task,
hugganandgantags,- dataset metadata,
- information related to the model,
- information on dataset, intended uses,
- a model output.
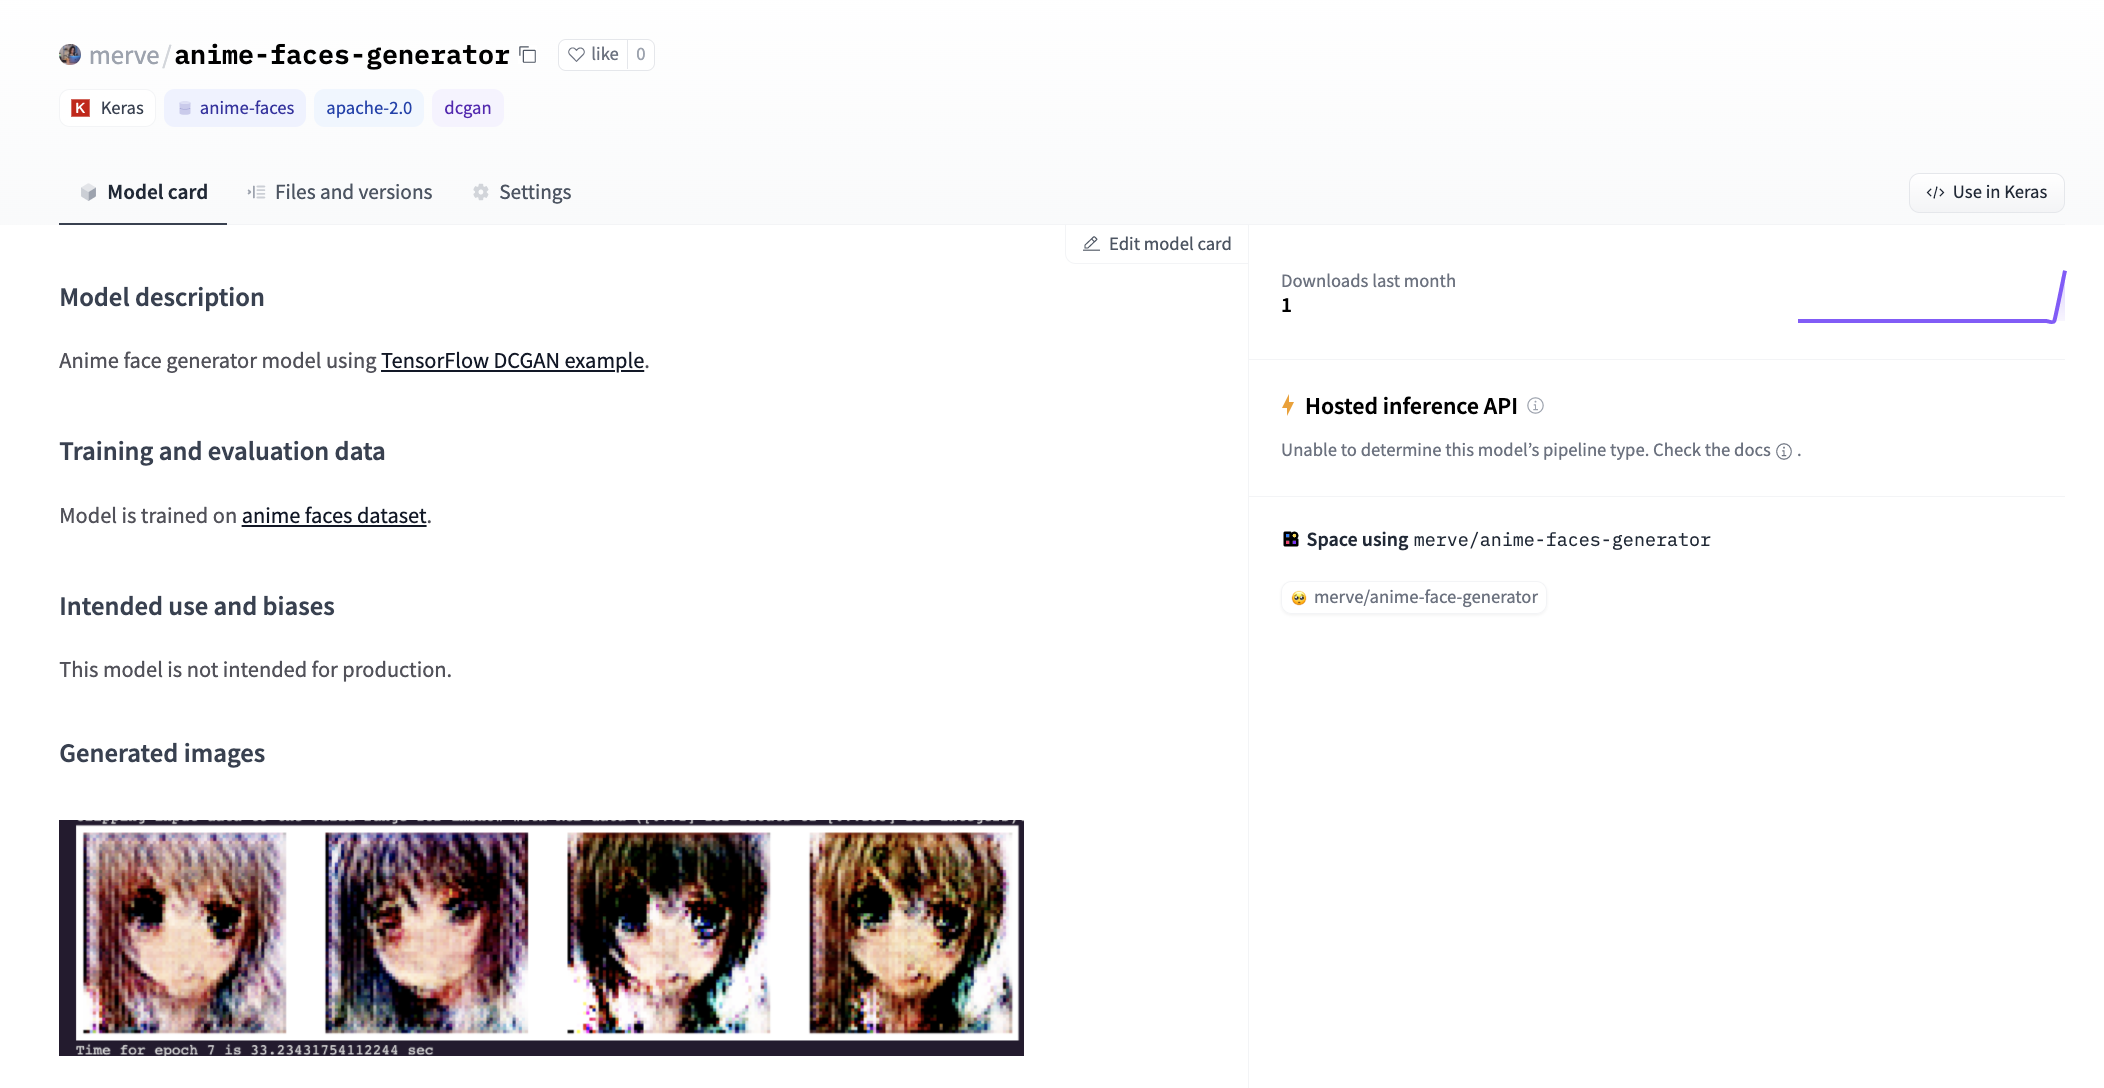
If you trained one of the example models, this model card will be automatically generated for you. If you didn’t train the model yourself, be sure to both credit the original authors and include the associated license in your model card! Here is an example model repo.
You can also use this template model card as a guide to build your own.
2.5 Accelerate
HuggingFace accelerate is an awesome library for training PyTorch models. Here we show why.
Basically, the library requires to replace this:
my_model.to(device)

for batch in my_training_dataloader:
    my_optimizer.zero_grad()
    inputs, targets = batch
    inputs = inputs.to(device)
    targets = targets.to(device)
    outputs = my_model(inputs)
    loss = my_loss_function(outputs, targets)
    loss.backward()
    my_optimizer.step()
by this:
+ from accelerate import Accelerator

+ accelerator = Accelerator()
- my_model.to(device)
  # Pass every important object (model, optimizer, dataloader) to *accelerator.prepare*
+ my_model, my_optimizer, my_training_dataloader = accelerate.prepare(
+     my_model, my_optimizer, my_training_dataloader
+ )

  for batch in my_training_dataloader:
      my_optimizer.zero_grad()
      inputs, targets = batch
-     inputs = inputs.to(device)
-     targets = targets.to(device)
      outputs = my_model(inputs)
      loss = my_loss_function(outputs, targets)
      # Just a small change for the backward instruction
-     loss.backward()
+     accelerator.backward(loss)
      my_optimizer.step()
and BOOM, your script runs on any kind of hardware, including CPU, multi-CPU, GPU, multi-GPU and TPU. It also supports things like DeepSpeed and mixed precision for training efficiently.
You can now run your script as follows:
accelerate config
=> Accelerate will ask what kind of environment you'd like to run your script on, simply answer the questions being asked. Next:
accelerate launch <your script.py>
This will run your script on the environment you asked for. You can always check the environment settings by typing:
accelerate env
You can of course change the environment by running accelerate config again.
3. Create a demo
Once you share a model, you then should share a Space based on your SDK of choice (Gradio or Streamlit) or as a static page. 🌌
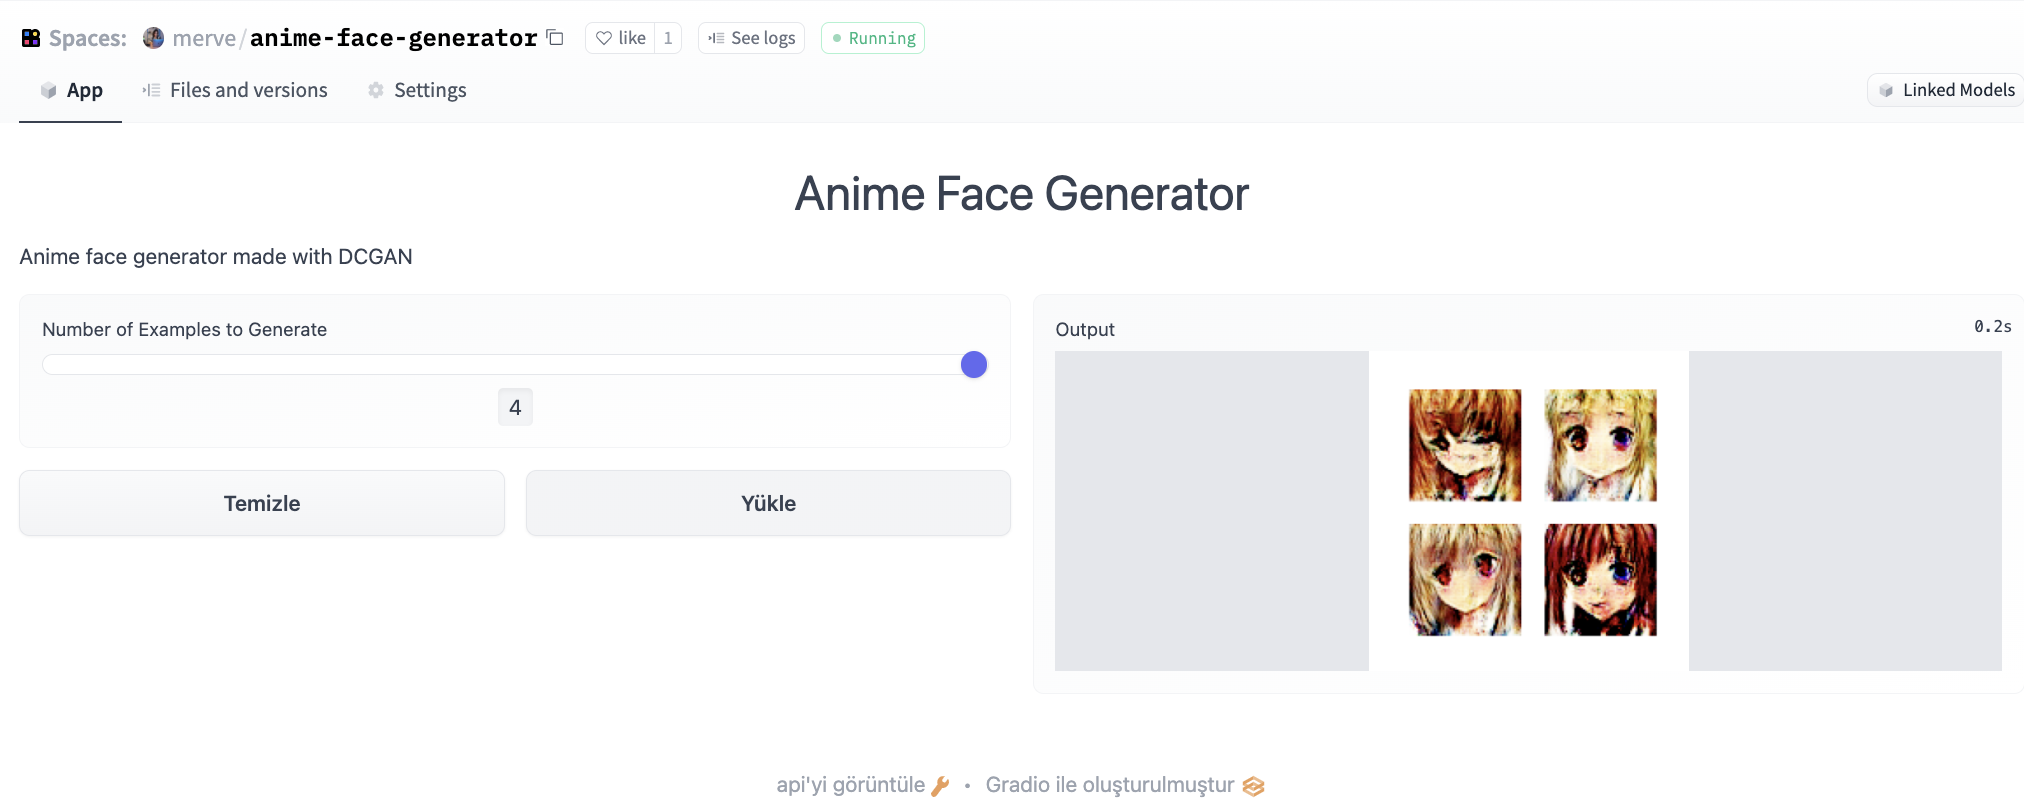
Here is an example Space corresponding to the model example shared above. Don’t know how to create a space? Read more about how to add spaces here.
Below, we list some other great example GAN Spaces:
- AnimeGANv2: https://huggingface.co/spaces/akhaliq/AnimeGANv2
- ArcaneGAN: https://huggingface.co/spaces/akhaliq/ArcaneGAN
- This Pokemon does not exist: https://huggingface.co/spaces/ronvolutional/ai-pokemon-card
- GFP-GAN: https://huggingface.co/spaces/akhaliq/GFPGAN
- DualStyleGAN: https://huggingface.co/spaces/hysts/DualStyleGAN
Example Scripts
In this repo, we have provided some example scripts you can use to train your own GANs. Below is a table of the available scripts:
Datasets to add
Below, we list some datasets which could be added to the Hub (feel free to add on one of these, or open a PR to add more datasets!):
- DeepFashion: https://mmlab.ie.cuhk.edu.hk/projects/DeepFashion.html
- Flowers: https://www.robots.ox.ac.uk/~vgg/data/flowers/
- LSUN: https://www.yf.io/p/lsun
Links to Check Out
Below, we list some possible awesome project ideas (feel free to work on one of these, or open a PR to add more project ideas!):
PyTorch:
- Lightweight-GAN: https://github.com/lucidrains/lightweight-gan
- StyleGAN2: https://github.com/lucidrains/stylegan2-pytorch
- StyleGAN2-ada: https://github.com/NVlabs/stylegan2-ada
- StyleGAN3 (alias-free GAN): https://github.com/NVlabs/stylegan3
- BigGAN: https://github.com/ajbrock/BigGAN-PyTorch, https://github.com/huggingface/pytorch-pretrained-BigGAN
- ADGAN: https://github.com/menyifang/ADGAN
- ICGAN: https://github.com/facebookresearch/ic_gan
- StarGANv2: https://github.com/clovaai/stargan-v2
- Progressive Growing GAN: https://github.com/Maggiking/PGGAN-PyTorch
- Vision Aided GAN: https://github.com/nupurkmr9/vision-aided-gan
- DiffAugment (for training data-efficient GANs): https://github.com/mit-han-lab/data-efficient-gans
- StyleGAN-XL: https://github.com/autonomousvision/stylegan_xl
- CUT: https://github.com/taesungp/contrastive-unpaired-translation
- studioGAN (library with many GAN implementations): https://github.com/POSTECH-CVLab/PyTorch-StudioGAN
- MMGeneration (library with many GAN implementations): https://github.com/open-mmlab/mmgeneration
- Deformable GAN: https://github.com/ssfootball04/pose-transfer
- Denoising Diffusion GAN: https://github.com/NVlabs/denoising-diffusion-gan
Keras:
- WGAN-GP: https://keras.io/examples/generative/wgan_gp/
- Conditional GAN: https://keras.io/examples/generative/conditional_gan/
- CycleGAN, DiscoGAN etc.: https://github.com/eriklindernoren/Keras-GAN
- Neural Style Transfer: https://www.tensorflow.org/tutorials/generative/style_transfer
- Image Super Resolution: https://github.com/idealo/image-super-resolution
- Deformable GAN: https://github.com/AliaksandrSiarohin/pose-gan
General links & tutorials:
GAN metrics
There have been several quantitative measures defined for assessing the quality of GANs (and other generative models). Refer to this page for more info.
Evaluation
For each submission, you are expected to submit:
- A model repository
- A space made with the model repository you created
Prizes
TODO
Communication and Problems
If you encounter any problems or have any questions, you should use one of the following platforms depending on your type of problem. Hugging Face is an "open-source-first" organization meaning that we'll try to solve all problems in the most public and most transparent way possible so that everybody in the community profits.
The following table summarizes what platform to use for which problem.
- Problem/question/bug with the 🤗 Datasets library that you think is a general problem that also impacts other people, please open an Issues on Datasets and ping @nielsrogge.
- Problem/question with a modified, customized training script that is less likely to impact other people, please post your problem/question on the forum and ping @nielsrogge.
- Other questions regarding the event, rules of the event, or if you are not sure where to post your question, please ask in the Discord channel #sprint-discussions.
Talks
TODO
General Tips and Tricks
- Memory efficient training:
In case, you are getting out-of-memory errors on your GPU, we recommend to use bitsandbytes to replace the native memory-intensive Adam optimizer with the one of bitsandbytes. It can be used to both train the generator and the discriminator in case you're training a GAN.


