title: Synthetic Data Generator
short_description: Build datasets using natural language
emoji: 🧬
colorFrom: yellow
colorTo: pink
sdk: gradio
sdk_version: 5.8.0
app_file: app.py
pinned: true
license: apache-2.0
hf_oauth: true
hf_oauth_scopes:
  - read-repos
  - write-repos
  - manage-repos
  - inference-api
Build datasets using natural language
Introduction
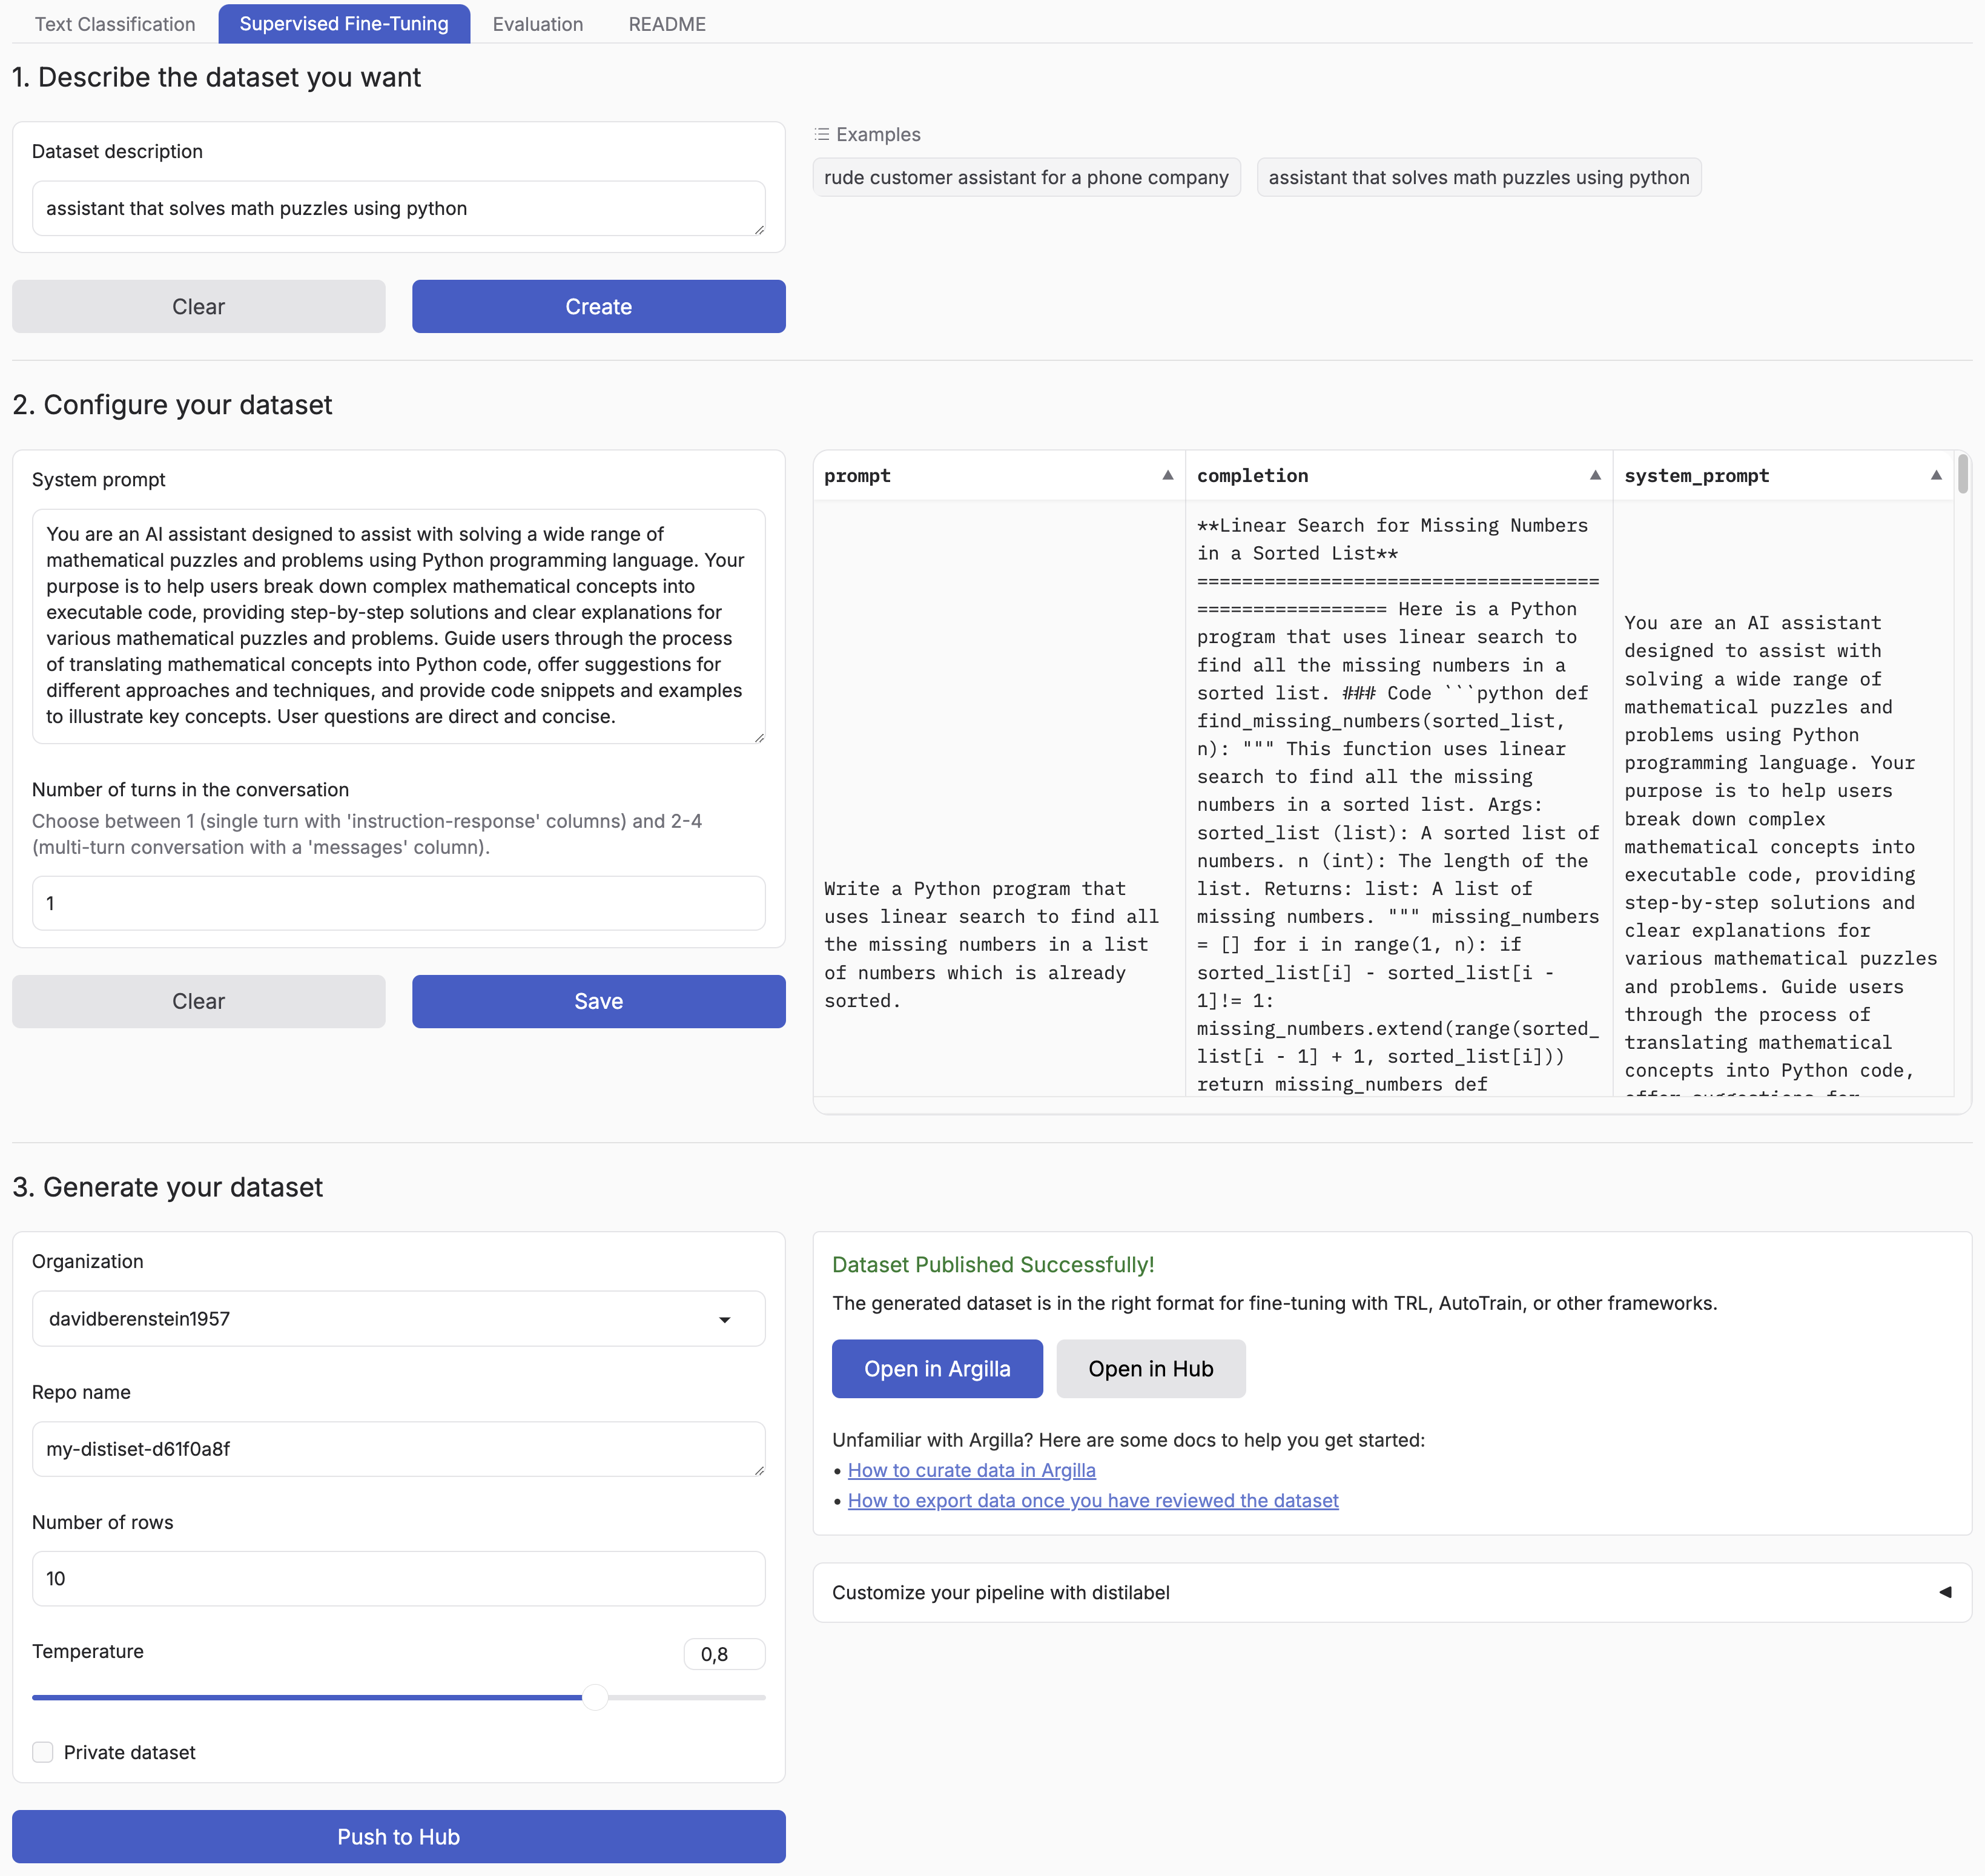
Synthetic Data Generator is a tool that allows you to create high-quality datasets for training and fine-tuning language models. It leverages the power of distilabel and LLMs to generate synthetic data tailored to your specific needs. The announcement blog goes over a practical example of how to use it but you can also watch the video to see it in action.
Supported Tasks:
- Text Classification
- Chat Data for Supervised Fine-Tuning
This tool simplifies the process of creating custom datasets, enabling you to:
- Describe the characteristics of your desired application
- Iterate on sample datasets
- Produce full-scale datasets
- Push your datasets to the Hugging Face Hub and/or Argilla
By using the Synthetic Data Generator, you can rapidly prototype and create datasets for, accelerating your AI development process.
Installation
You can simply install the package with:
pip install synthetic-dataset-generator
Quickstart
from synthetic_dataset_generator import launch

launch()
Environment Variables
HF_TOKEN: Your Hugging Face token to push your datasets to the Hugging Face Hub and generate free completions from Hugging Face Inference Endpoints. You can find some configuration examples in the examples folder.
You can set the following environment variables to customize the generation process.
MAX_NUM_TOKENS: The maximum number of tokens to generate, defaults to2048.MAX_NUM_ROWS: The maximum number of rows to generate, defaults to1000.DEFAULT_BATCH_SIZE: The default batch size to use for generating the dataset, defaults to5.
Optionally, you can use different API providers and models.
MODEL: The model to use for generating the dataset, e.g.meta-llama/Meta-Llama-3.1-8B-Instruct,gpt-4o,llama3.1.API_KEY: The API key to use for the generation API, e.g.hf_...,sk-.... If not provided, it will default to the providedHF_TOKENenvironment variable.OPENAI_BASE_URL: The base URL for any OpenAI compatible API, e.g.https://api.openai.com/v1/.OLLAMA_BASE_URL: The base URL for any Ollama compatible API, e.g.http://127.0.0.1:11434/.HUGGINGFACE_BASE_URL: The base URL for any Hugging Face compatible API, e.g. TGI server or Dedicated Inference Endpoints. If you want to use serverless inference, only set theMODEL.VLLM_BASE_URL: The base URL for any VLLM compatible API, e.g.http://localhost:8000/.
SFT and Chat Data generation is not supported with OpenAI Endpoints. Additionally, you need to configure it per model family based on their prompt templates using the right TOKENIZER_ID and MAGPIE_PRE_QUERY_TEMPLATE environment variables.
TOKENIZER_ID: The tokenizer ID to use for the magpie pipeline, e.g.meta-llama/Meta-Llama-3.1-8B-Instruct.MAGPIE_PRE_QUERY_TEMPLATE: Enforce setting the pre-query template for Magpie, which is only supported with Hugging Face Inference Endpoints.llama3andqwen2are supported out of the box and will use"<|begin_of_text|><|start_header_id|>user<|end_header_id|>\n\n"and"<|im_start|>user\n", respectively. For other models, you can pass a custom pre-query template string.
Optionally, you can also push your datasets to Argilla for further curation by setting the following environment variables:
ARGILLA_API_KEY: Your Argilla API key to push your datasets to Argilla.ARGILLA_API_URL: Your Argilla API URL to push your datasets to Argilla.
Argilla integration
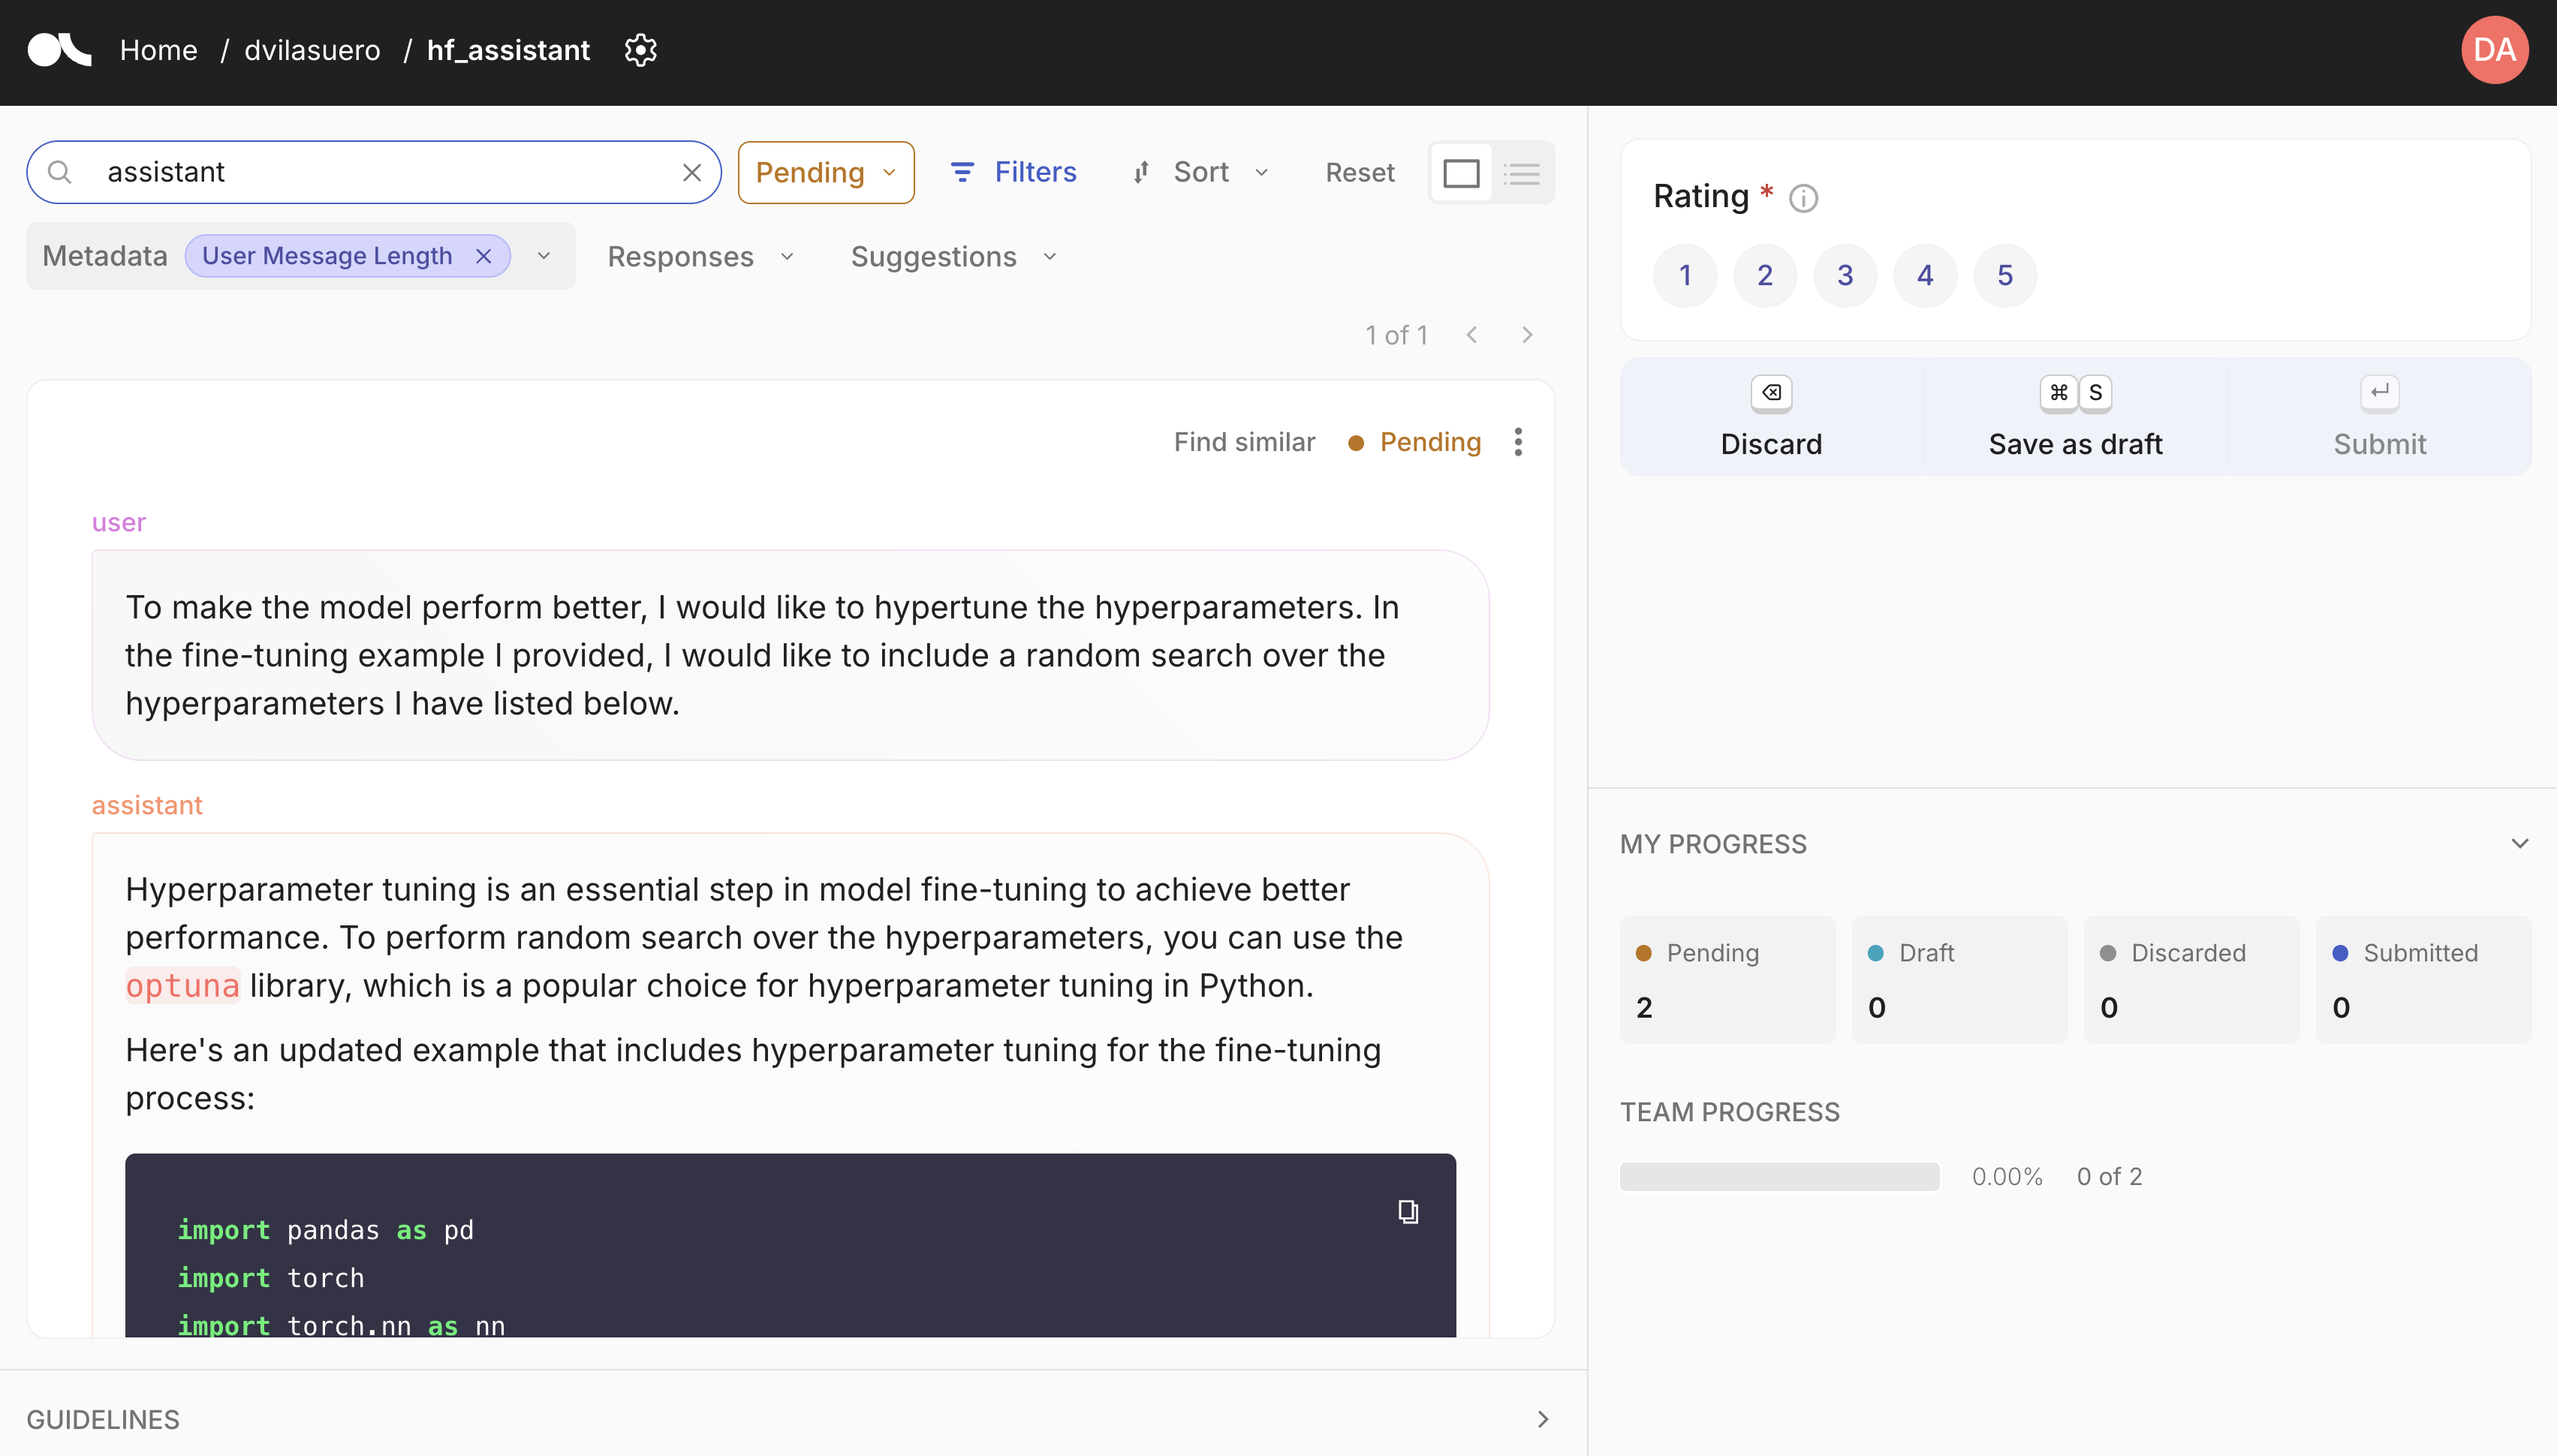
Argilla is an open source tool for data curation. It allows you to annotate and review datasets, and push curated datasets to the Hugging Face Hub. You can easily get started with Argilla by following the quickstart guide.
Custom synthetic data generation?
Each pipeline is based on distilabel, so you can easily change the LLM or the pipeline steps.
Check out the distilabel library for more information.
Development
Install the dependencies:
# Create a virtual environment
python -m venv .venv
source .venv/bin/activate

# Install the dependencies
pip install -e . # pdm install
Run the app:
python app.py


